Amidst all the flurry of travel eating last year, my beloved London didn’t get much airtime on the blog. Here are some local spots that slipped through the cracks – brace yourself, it’s gonna be a long one!

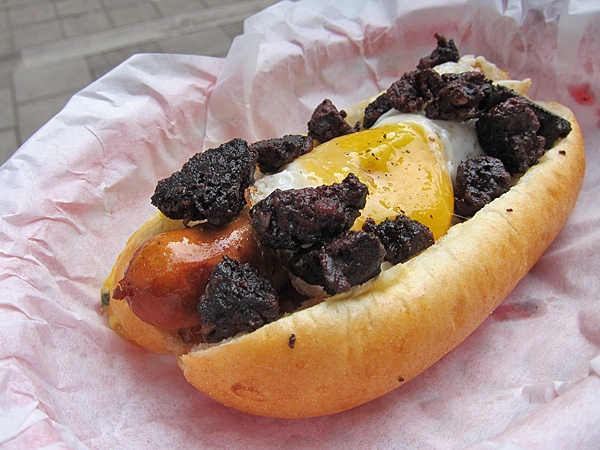
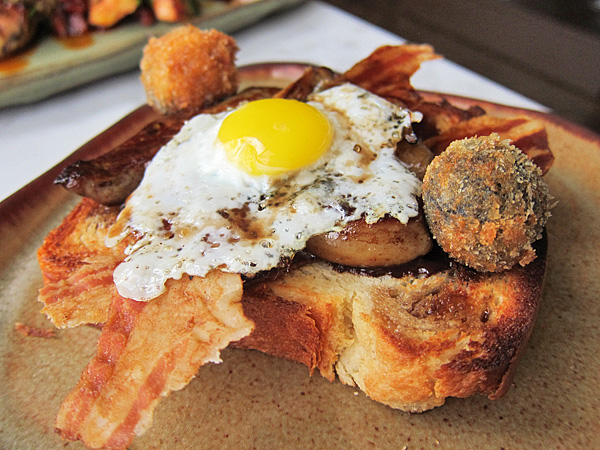
Judging by the queues snaking out of Bubbledogs there are few left in London who haven’t heard of the 4 month old hot dog and champagne bar. The dogs are great (I am partial to the Breakie with a fried egg, tomato relish and black pudding) but for me the real draw is the extensive list of rare grower champagnes. If standing in line isn’t your thing, book a seat at their Kitchen Table which offers an incredible multi-course dinner eaten on a long counter table surrounding the open kitchen.

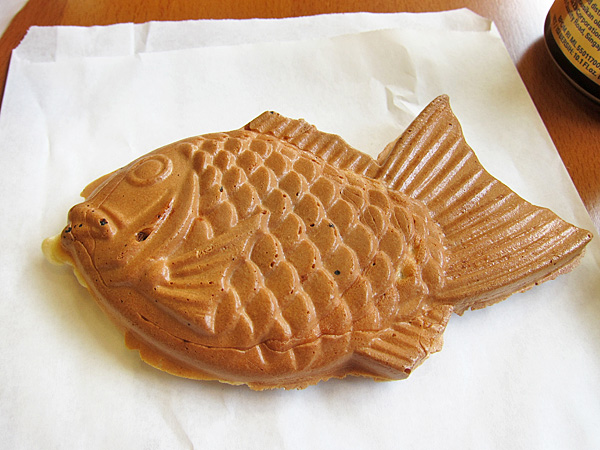
A couple of streets from Bubbledogs you’ll find Yaki. Skip the pre-made okonomiyaki that don’t taste particularly authentic and the rice burgers, which although tasty, fall apart in the hand. Instead pop in for a Taiyaki (fish-shaped cake with various fillings) – they’re cute to look at and the one I sampled hot from the cast iron mold was pretty good (stick to the traditional azuki bean filling).

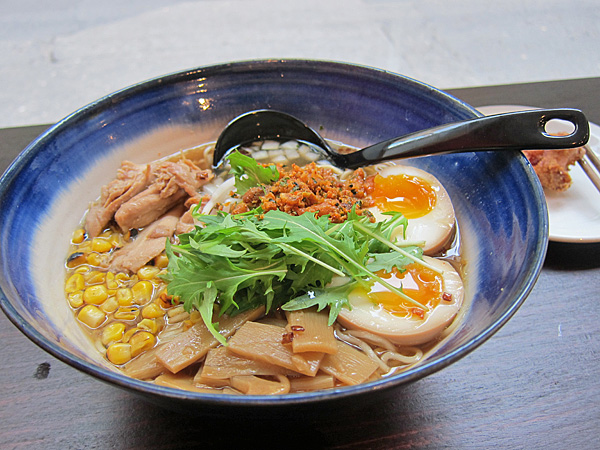
After years bemoaning the lack of ramen bars in the city, we got hit by a tsunami of them in 2012. Having tried all the main players – Tonkotsu, Ittenbari, Shoyru and Bone Daddies – I’d say the latter tops the list with a intensely-flavoured (albeit a tad too thick) broth, chewy strands and wide choice of both toppings and ramen. That said, none come close to the addictive bowls I slurped in the shoebox haunts off the side streets of Tokyo.
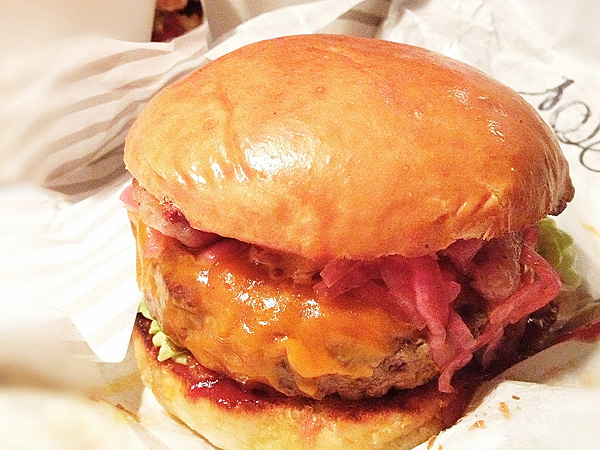
Despite the rising popularity of ramen, burgers were still very big news last year with more temporary outfits setting up brick and mortar outlets than ever. Oldtimer MeatLiquor is still a firm favourite (I’ve yet to try their brand-spanking-new contingent in the East), but newbie Patty & Bun is definitely giving them a run for their money with the resplendent Ari Gold.
Another pop-up that took up more permanent digs is Disco Bistro which has moved into the top floor of The Rising Sun pub for the next 6 months. I wasn’t convinced by the lacklustre over-priced lunch I had upstairs, but their trashy bar menu (which hadn’t launched at the time of my visit) does sounds interesting, although not enough to tempt me back.
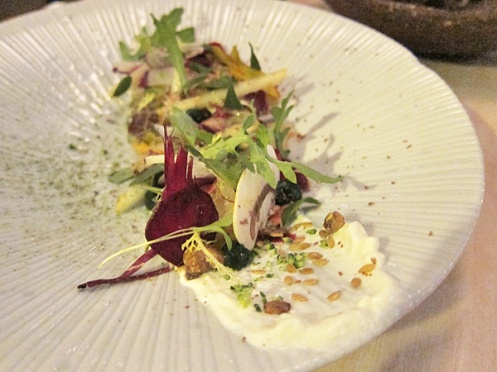
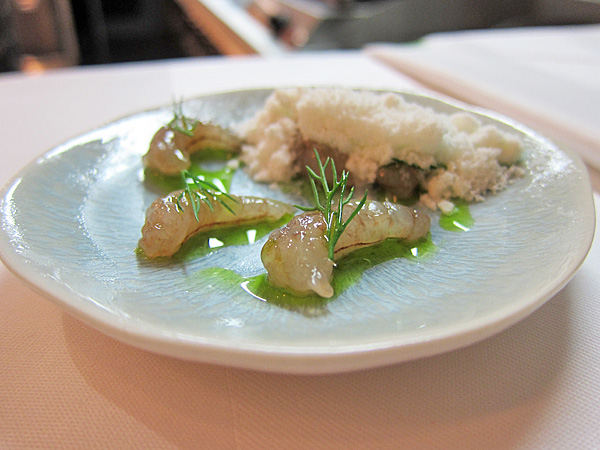
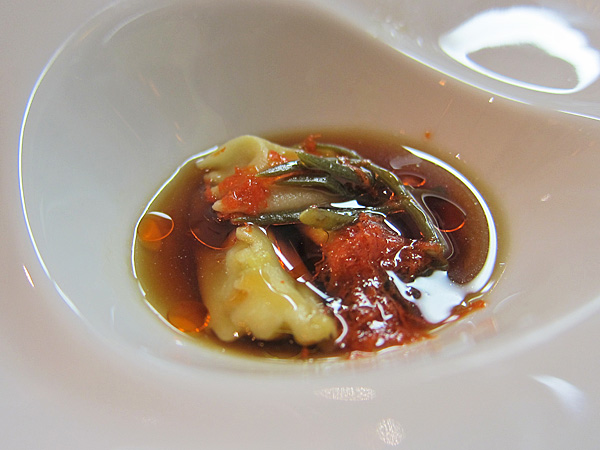
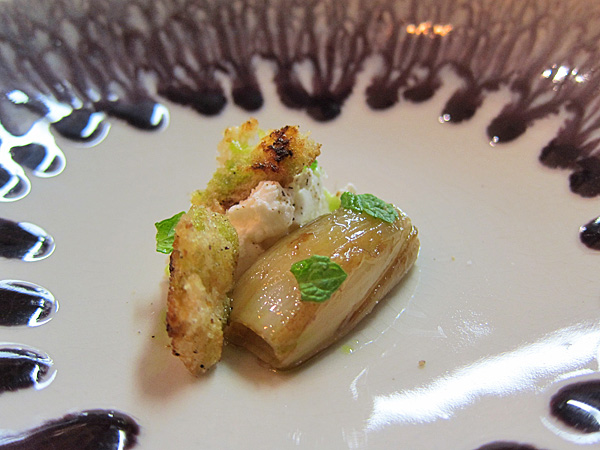
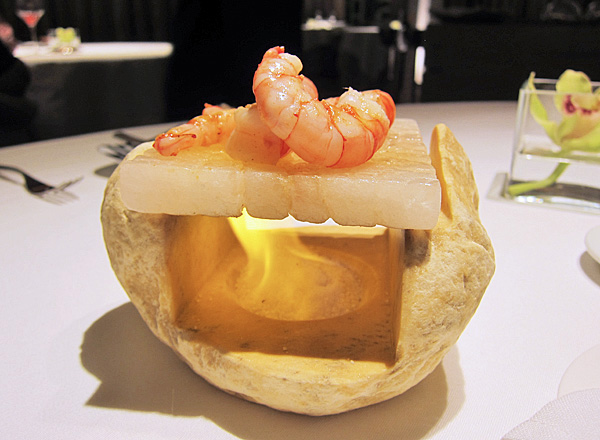
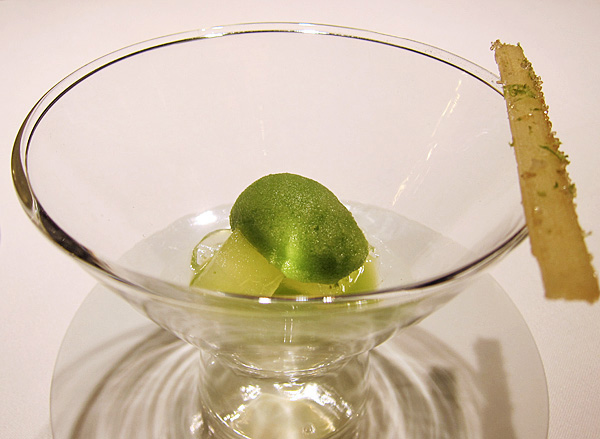
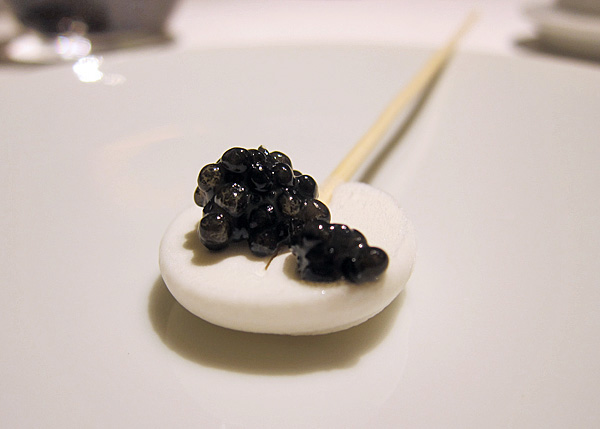
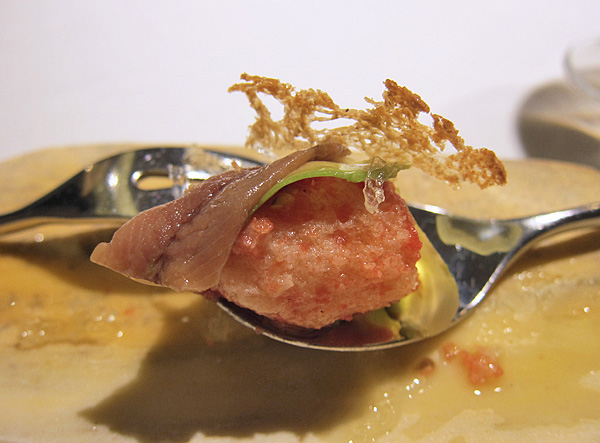
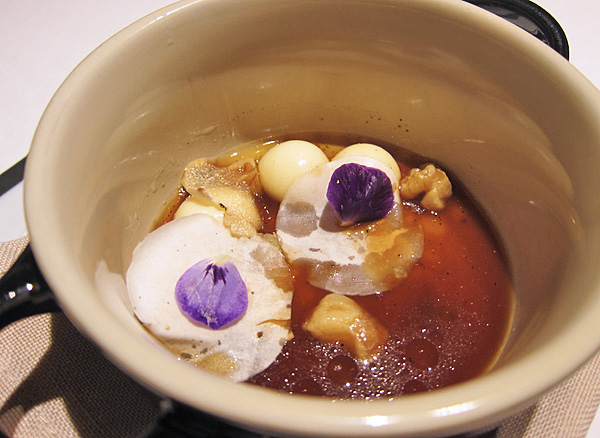
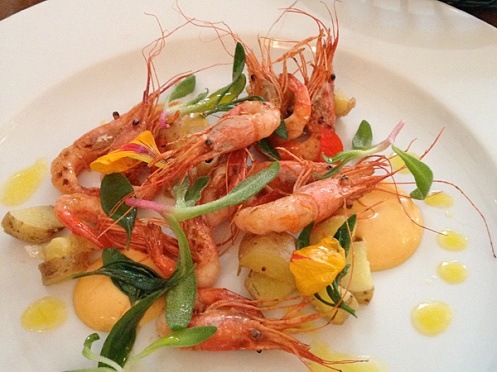
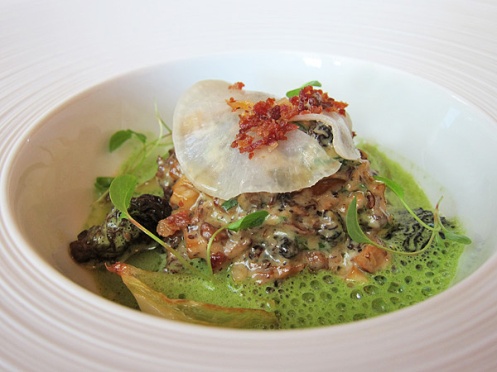
Talented Ben Spalding (ex-head chef of Roganic) also started a half-year residency at John Salt but within weeks the partnership dissolved and now Neil Rankin (formerly Pitt ‘Cue) holds court. I was lucky enough to try the promising 12-courses before his departure and am glad that he’s slated to open his own place towards the end of this year – fingers crossed the brilliant 35 ingredient salad will find its way on the menu.
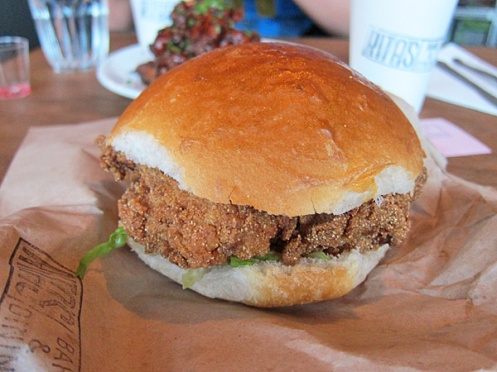
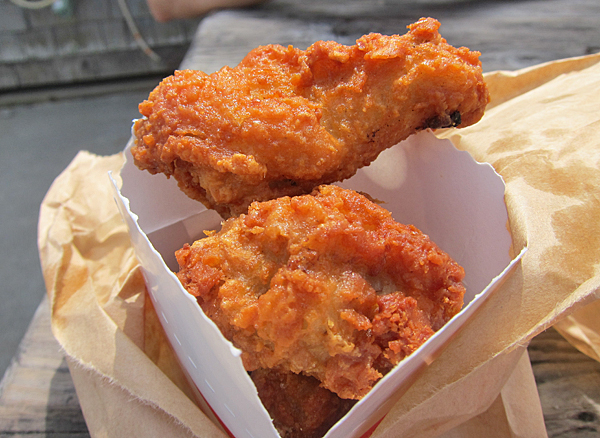
Further afield in Dalston, I had some delicious frozen Hibiscus Margaritas and moreish Ginger & Soy Hot Wings at the hip Rita’s Bar & Dining. Their famous Fried Chicken Roll boasted juicy thigh meat coated in a well-seasoned crunchy crust, but the bread roll it was nestled in was rock hard and cried out for more sriracha aioli.

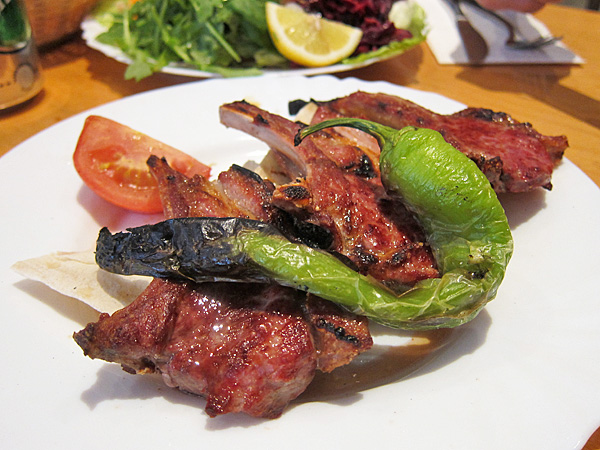
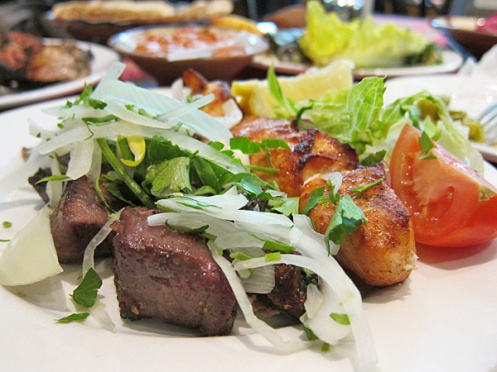
The grilled meats at nearby (but not new) Turkish Ocak Basi restaurant Mangal excited me more. Everything from the Pirzola (seasoned lamb chops) and Adana Kofte (spicy minced lamb kebab) to the Yogurtlu Tavuk Sis (chicken breast with yoghurt and butter sauce) was tender, succulent and grilled to perfection. A meat lovers paradise.
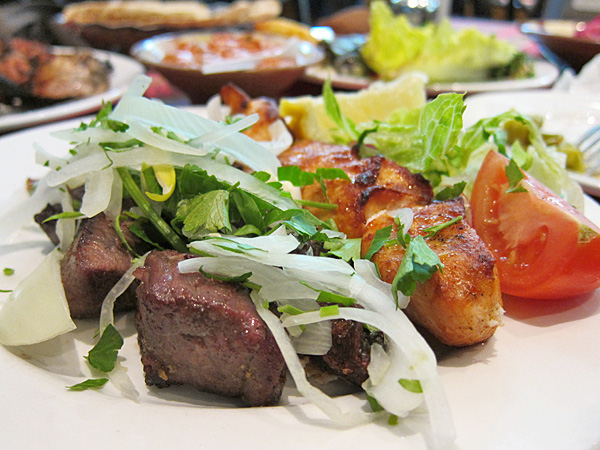
Closer to home, I tried Lebanese joint Beirut Express which also delivered some expertly charcoal-grilled meats, as well as some excellent cold and hot mezza.

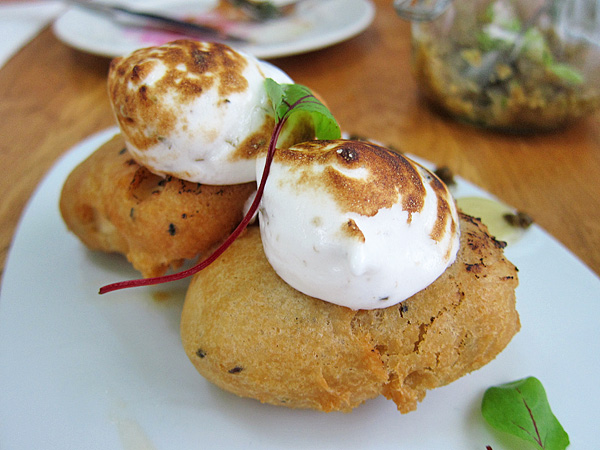
Back to a few of the newer openings. Modern Greek Mazi in Notting Hill is a sweet little space with an alfresco area perfect for balmy summer evenings. I loved the jars of Spanakopita, Tarama and Grilled Aubergine but the hot plates were less successful. Feta Tempura with Lemon Marmalade and Caper Meringue was particularly odd – the batter was thick and greasy, and the sweet accompaniments rendered it more of a dessert than a main.

Many are enamoured with Duck & Waffle, perched atop Heron Tower. The panoramic views at the all-day restaurant are indeed magnificent but I had mixed feelings about the food. Tasty sharing plates of Chip Shop Cod Tongues and BBQ-spiced Crispy Pig Ears were fun and an Octopus with Chorizo, Lemon and Capers was stunning, but the Foie Gras “All Day Breakfast” and Bacon wrapped Dates stuffed with Linguica Sausage were both too rich and heavy for my taste.
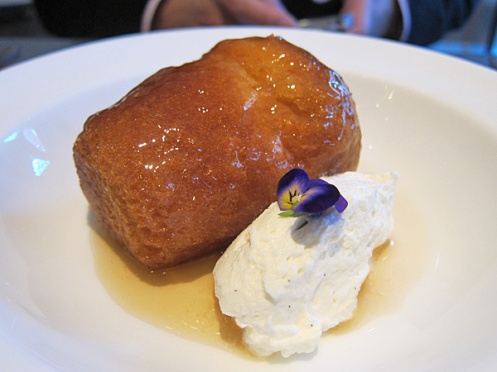
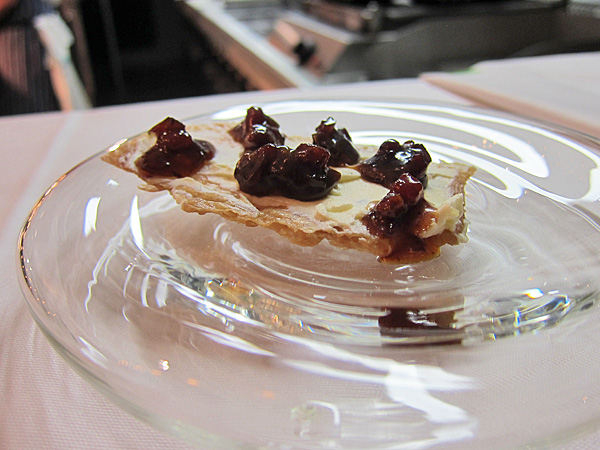
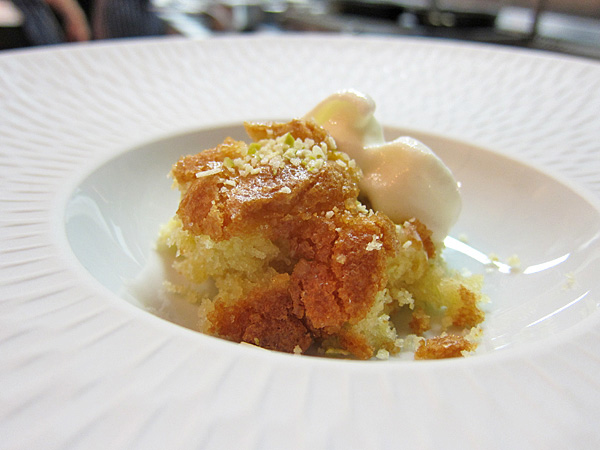
Not technically new, but it has recently changed head chefs, is Provençale bistro Cassis. Massimiliano Blasone’s (former executive chef of Heinz Beck’s Apsleys) skill shines through in the deftly-plated Southern France-inspired food. The Rum Baba, served with chantilly cream and a choice of three rums, was simply superb.
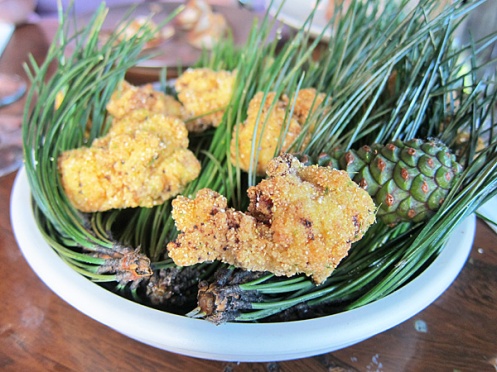
I’m eagerly awaiting the launch of Isaac McHale’s The Clove Club and am thrilled he’ll be bringing the awesome Buttermilk-fried Chicken in Pine Salt, a mainstay on the Upstairs at Ten Bells menu, with him.
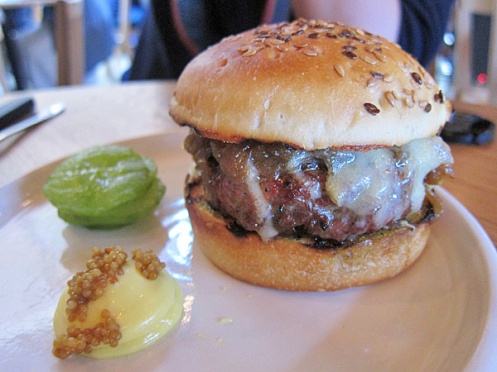
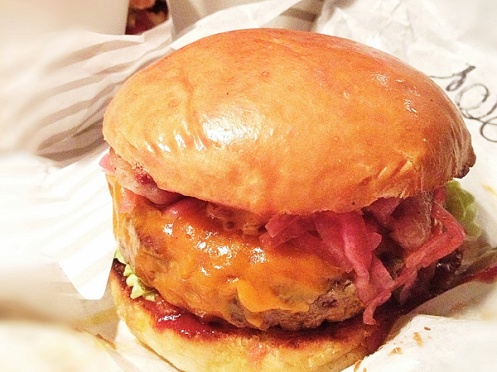
With a similarly laid-back vibe but an airier, brighter space is Elliot’s near Borough Market. I enjoyed fried chicken and various puds there but the best thing by far was their cheeseburger, available only at weekday lunches.
On the higher end of the spectrum is HKK, the latest offering from the Hakkasan group. Refreshing though it was to sample a tasting menu of reworked Cantonese banquet dishes, I felt there was a slight lack of finesse for the level of cuisine the restaurant is trying to achieve. I did however enjoy the majority of the savoury courses and wouldn’t rule out a return trip.

Also swanky, but serving food from a different continent is Il Ristorante at the Bulgari Hotel in Knightsbridge. Decked out in leather and mahogany the dining room feels cold and more like a jewellery showroom – a shame as the contemporary Italian food was quite lovely. Fresh-tasting antipasti, al dente pasta delicately sauced and thoughtfully garnished, and even a number of options specifically marked for the health-conscious which were surprisingly delicious.

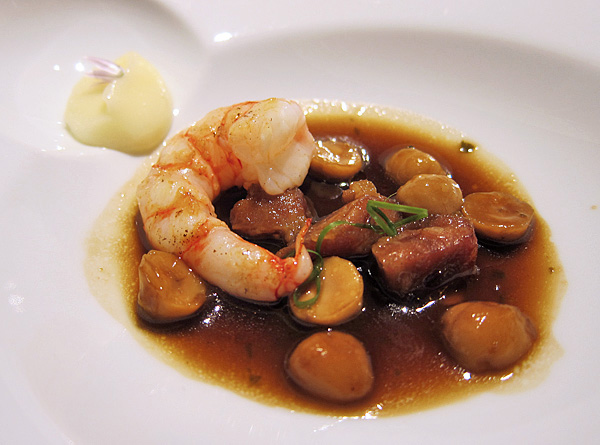
One tube stop away The Grill at The Dorchester, in its tartan-clad glory, hinted at a much more traditional menu than it actually serves. Sure there is Black Angus Beef and Grilled Dover Sole but also a thoroughly modern (and very good) starter of Glazed Calves Sweetbreads, Crispy Chicken Wings and Sourdough Bread.
Fellow old-school establishment The Ritz featured well-executed French dishes (some more precisely than others) that were pleasant but didn’t leave much of an impression. The opulent but somewhat tired decor and stiff service didn’t help.

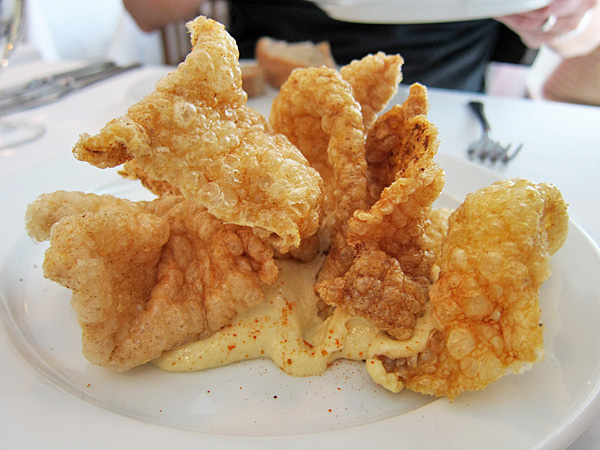
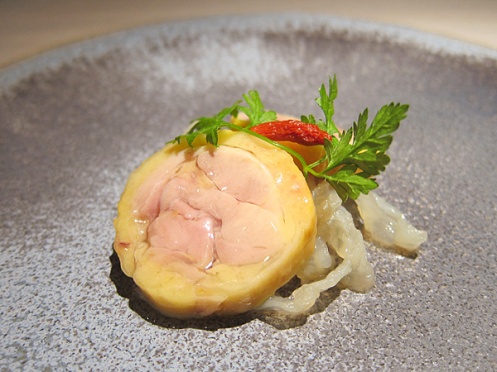
In contrast the minimal St John Hotel in Chinatown immediately sets the diner at ease and the simple, produce-led British fare is always a pleasure. You can’t go wrong with the Devilled Pig’s Skin & Smoked Cod’s Roe, anything offaly (loved the Snails, Duck Hearts & Lovage) and the freshly-baked Madeleines. Doughnuts, when available, are a must.
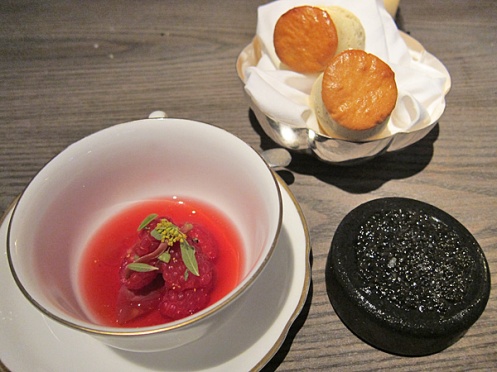
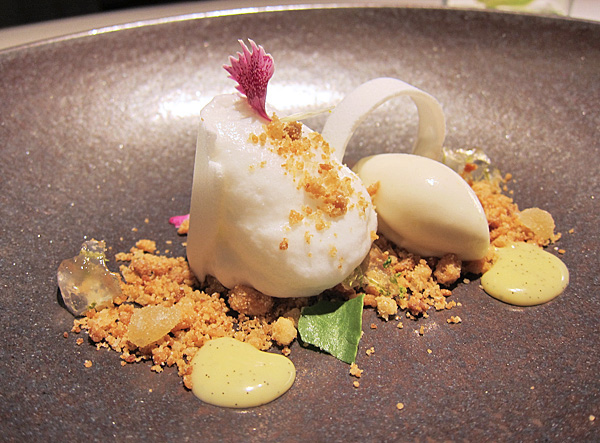
A less conventional hotel dining experience was the 2-week long Noma pop-up at Claridges during the Olympics. The controversial Ants and Cabbage course sparked much conversation at the table but failed to tantalise our taste buds. Better by far was the whimsical take on afternoon tea (scones with caviar, clotted cream and raspberry tea) and the melt-in-the mouth slow-roasted Romney Marsh neck of lamb.

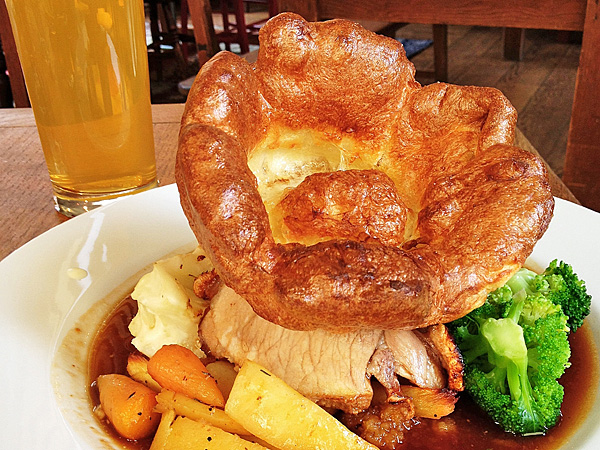
Properly good Sunday pub roasts can be hard to come by but I was very satisfied by the one crowned with a behemoth yorkshire pud at The Thatched House. Their giant scotch eggs are pretty special too.
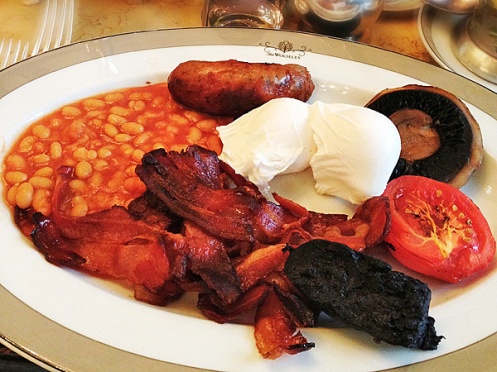
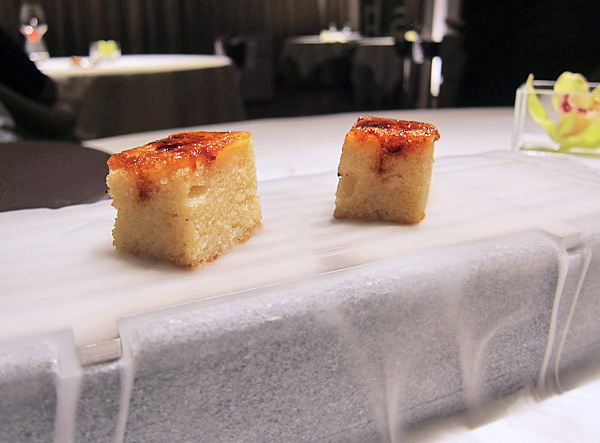
Slightly posher brunch venue The Wolseley served up an exemplary Full English, although those hungover may miss the grease of the standard fry-up! I was also impressed with their Cannelés Bordelais – gorgeous caramelised crust, moist centre and a snip at £1.75 for a pair!

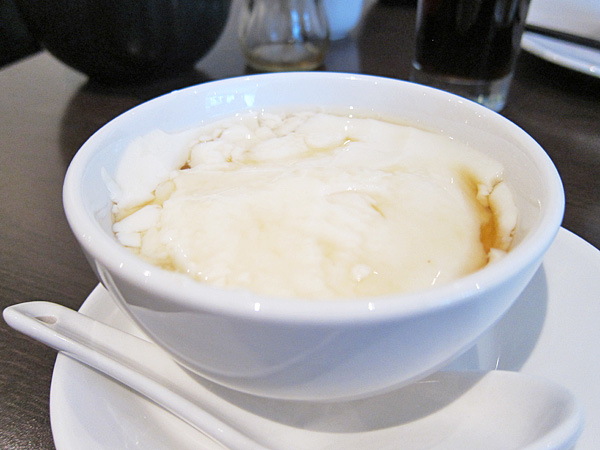
I can’t get through a fortnight without a dim sum fix, and Dragon Palace in Earl’s Court is a worthy weekend yum cha venue. All the dumplings we tried tasted freshly-made; turnip cake had good flavour and texture, as did the pan-fried cheung fun. Admittedly their xiao long bao and fried squid cakes weren’t up to par, but all was forgiven after a spoonful of homemade Tofu Fa – a silky beancurd dessert with ginger syrup that is hard to come by here in London.

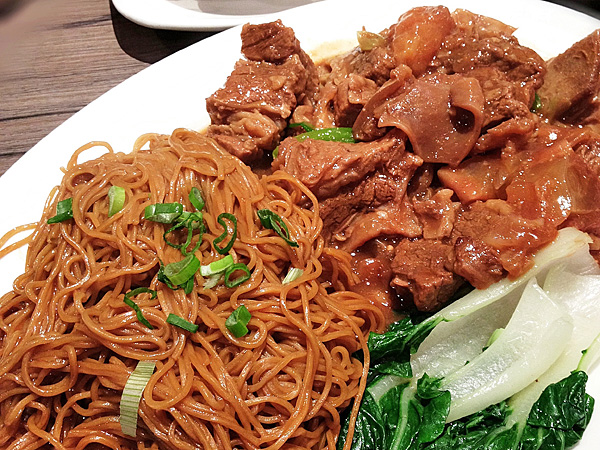
I’ve long been wary of the restaurants in Chinatown but new discovery Old Town 97 plates up the best Braised Beef Brisket and Tendon Noodles I’ve had in London. The handful of other cooked dishes I tried were good too – added bonus, its cheap and open till late.
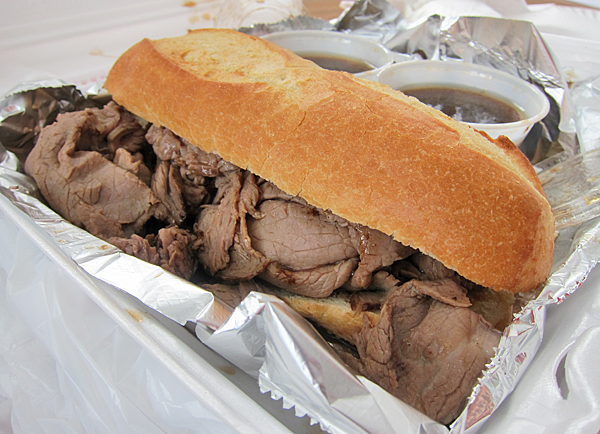
A stone’s throw away at Quo Vadis the much-talked-about Smoked Eel and Horseradish Sandwich lived up to its reputation. Everything else for me however was just so-so, unsurprising I guess as I wasn’t a massive fan of Jeremy Lee’s cooking while he was at BluePrint Café either.
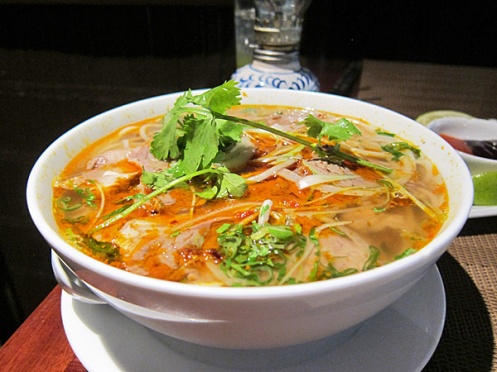
To end off, a Vietnamese I’ve frequented on and off for the past few years, Saigon Saigon. The quality at this cavernous restaurant (they even have a downstairs bar) sometimes varies, but on the whole the appetisers like chargrilled quail, sugarcane prawns and banh cuon are flavourful, and the noodle offerings (our favourites are the beef pho and bún bò huế) solid. Plus, it saves us the trek to the Kingsland Road!
_______________________________________________________________________________________________________
Bubbledogs / 70 Charlotte Street, W1T 4QG / 020 7637 7770
Yaki / 53 Goodge Street, W1T 1TG
Bone Daddies / 31 Peter Street, W1F 0AW / 020 7287 7437
Patty & Bun / 54 James Street, UK W1U 1EU
Disco Bistro / The Rising Sun, 61 Carter Lane, EC4V 5DY / 07850 630 129
John Salt / 131 Upper Street, N1 1QP / 020 7704 8955
Rita’s Bar & Dining / Birthdays, 33-35 Stoke Newington Road, N16 8BJ
Mangal Ocakbasi / 10 Arcola Street, E8 2DJ / 020 7275 8981
Beirut Express / 112 Edgware Road, W2 2DZ / 020 7724 2700
Mazi / 12-14 Hillgate Street, W8 7SR / 020 7229 3794
Duck & Waffle / Heron Tower, 110 Bishopgate, EC2N 4AY / 203 640 7310
Cassis / 232-236 Brompton Road, SW3 2BB / 020 7581 1101
Upstairs at Ten Bells / 84 Commercial Street, E1 6LY / 07530 492986
Elliot’s / 12 Stoney Street, SE1 9AD / 020 7403 7436
HKK / Broadgate West, 88 Worship Street, EC2A 2BE / 020 3535 1888
Il Ristorante / 171 Knightsbridge, SW7 1DW / 020 7591 2442
The Grill at The Dorchester / 53 Park Lane, W1K 1QA / 020 7317 6336
The Ritz / 150 Piccadilly, W1J 9BR / 020 7493 8181
St John Hotel / 1 Leicester Street, WC2H 7BR / 020 3301 8020
The Thatched House / 115 Dalling Road, W6 0ET / 020 8748 6174
The Wolseley / 160 Piccadilly, W1J 9EB / 020 7499 6996
Dragon Palace / 207 Earl’s Court Road, SW5 9AN / 020 7370 1461
Old Town 97 / 19 Wardour Street, W1D 6PL / 0871 971 7753
Quo Vadis / 26-29 Dean Street, W1D 3LL / 020 7437 9585
Saigon Saigon / 313-317 King Street, W6 9NH / 020 8748 6887
___________________________________________________________________________________


Posted in London
Tags: Beirut Express, Ben Spalding, Bone Daddies, Bubbledogs, Bulgari Hotel, burgers, Cassis, Disco Bistro, Dragon Palace, Duck & Waffle, Elliot's, HKK, Il Ristorante, John Salt, London, Mangal Ocakbasi, Mazi, Old Town 97, Patty & Bun, Quo Vadis, ramen, restaurants, review, Rita's Bar & Dining, Saigon Saigon, St John Hotel, Thatched House, The Grill at The Dorchester, The Ritz, The Wolseley, Upstairs at Ten Bells, Yaki